Last posts
If you want your home to stand out and increase your chances of landing the luxury home swap of your dreams, take a look at the photos on your listing to see if they could use an update as the summer season approaches.
Your profile must have a minimum of five photos for your listing to be complete and for you to become verified. But adding more than the required five images provides a better view of your home, which makes it easier for Members' to envision themselves staying there! The priority should be to show other Members' how your home looks inside and what they can expect. Being upfront and honest is always the best policy.
Even if photography is not your thing, with some time and effort, you can take beautiful pictures of your home that catch Members' eyes and ultimately entice them to stay in your home. Here are a few tips to take the best possible photos of your home.
Choose your photography tool
You don't have to have a professional camera to take great pictures of your home! The camera on your smartphone is more than acceptable. The important thing is to get a clear and clean image that will inspire other members to stay in your home.
If you use a point and shoot camera or a DSLR, hold it steady or better yet, use a tripod!
Whatever tool you use to take the photos, make sure you are capturing images in high resolution so the photos are clear and not grainy on your profile. Don't use photos with a time stamp or any other type of watermark on them.
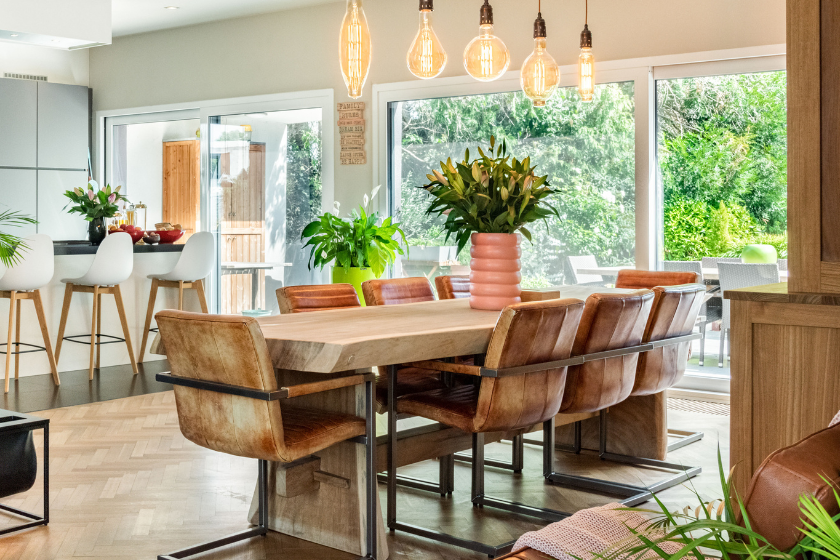
Stage and prepare your space
The first thing you should do before even taking any photos is to make sure your property is ready. Your home has been deep cleaned, the beds are all made as if real life guests were coming tomorrow, the towels and other supplies are all in place, toilet seats are down, cables are hidden away, doors are open, and anything else you would normally do when guests are coming.
One additional thing you can add to get the perfect photos is to set the table or kitchen island with dishes and glasses. It lets guests know that you’ve got them covered with the essentials to cook a meal!
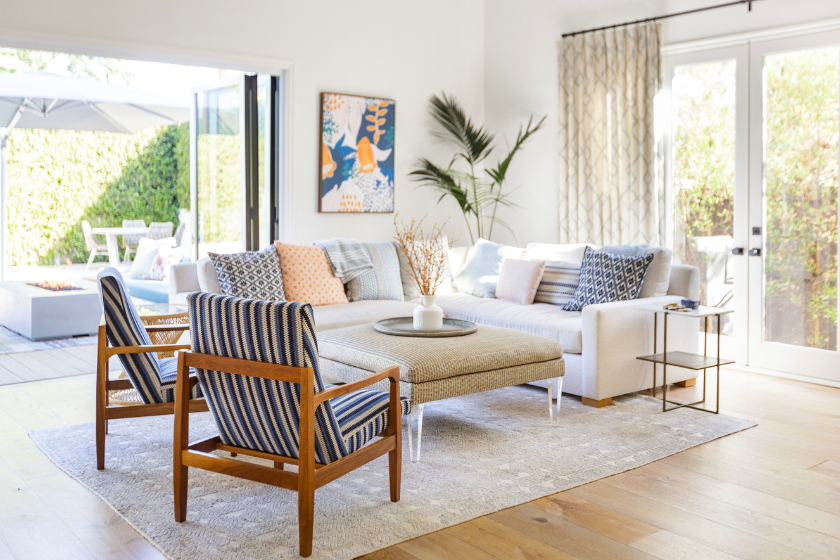
Choose the time of day with the best lighting
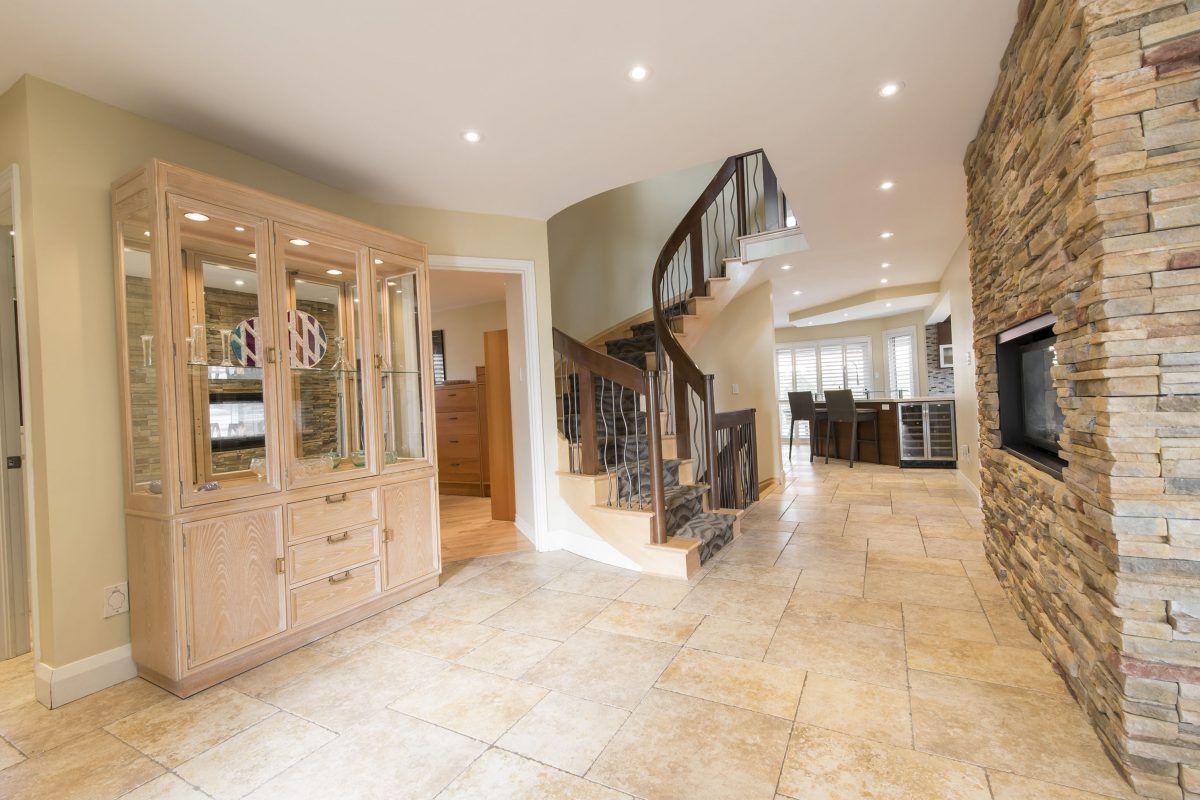
The best time of day is when the natural light is coming through the windows.. Depending on which way your property faces, this could be at golden hour or early in the morning. Open all curtains and blinds and turn on all artificial lighting to brighten the photos even more.
Incorrect brightness can ruin even the most elaborate interior designs.
On the left you will see an example of improper lighting and on the right you will have proper lighting that makes the space look crisp.
Avoid using your flash! This often creates a cold and artificial feeling. Natural lighting is the best because it illuminates your home more authentically.
Get photos of each unique amenity and every space your property offers
This sounds like a no-brainer but some people can forget to show everything, including a close up of the little details or a focal point of the living room.
If your listing description says something like ‘game room’, make sure to highlight the game room in one of your first photos.
TIP: Take photos from the corners of rooms to show the most of the space in a single image.
Add the photos to your listing in the correct order
Photos should be in a logical order. Think about the spaces that guests will use the most and make sure those are first. More often than not, if someone is searching for a home and they don’t immediately see something that catches their eye, they will move onto the next listing.
Set a cover image that will entice people to click on your listing
The cover photo is the first thing guests will see in their search. If they don’t like what they see right off the bat, they will scroll onto the next listing. Set your cover image to be the best space or amenity you are offering!
Make sure all your lines are squared off
In other words, your verticals should be vertical and your horizontals should be horizontal. By verticals, we’re referring to the vertical lines that run from the ceiling to the floor. By horizontals, we’re referring to the horizontal lines of anything in the room, such as windows, molding, countertops, etc.
Pro Tip: Enable grid lines on your camera. Both your smartphone and DSLR will have a setting for turning on gridlines. By enabling grid lines, two horizontal lines and two vertical lines will be equally placed over the display. These grid lines will help you ensure you keep the verticals vertical and the horizontals horizontal.
Unleveled:
Leveled:

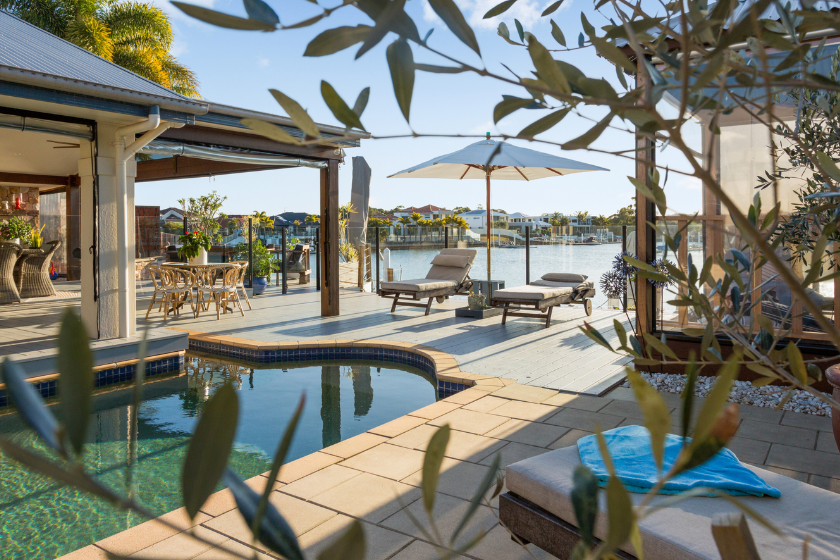
Don’t forget to take photos of the outside of your home
The outside of every home is just as important as the inside. Make sure that you don’t allow trees, cars or poles to obscure the view of the home and property.
Move everything you can out of the shot. And make sure you take a photograph where you can see the entryway into the home. If your luxury home features a swimming pool, jacuzzi, or a spectacular view, don’t forget to capture that.
Edit your photos
Once you have taken your photos, don’t be afraid to edit the images slightly. You might want to lighten them up if they are dark, or even crop out something unwanted. Some slight adjusting can take your photos from simply alright to a total wow!
Don't go crazy with filters and changing the colors of your photo, though. Turning white walls yellow and blurring the image is not the best idea for creating an honest and welcoming image of your home. Your home profile will look more authentic and people that view your profile won’t think you have something to hide.
TIP: Remember that horizontal (landscape) photos look better on the HomeExchange website. You can rotate and crop your photos directly on HomeExchange. Once you upload your images, you can hover over the photo and edit the direction of it right there! No need to have any extra editing software, it’s all built right in.
Join HomeExchange CollectionLast posts